


 Error ‘npm ERR! ERESOLVE unable to resolve dependency tree’ and & How to fix NPM warnings")


 Mücadele Eden 9 Bitki ve Baharat")


Herkese merhabalar, bu yazımızda Keycloak’u Docker üzerinde kurup, Spring Boot-Keycloak entegrasyonunu yapıp, oluşturduğumuz REST API üzerinde url isteği yaparak Keycloak login sayfasından giriş yapıp kullanıcı bilgilerine erişiyor olacağız. İlk olarak Keycloak Nedir diyerek başlayalım.
Keycloak Nedir?
Keycloak, açık kaynaklı bir kimlik ve erişim yönetimi çözümüdür. Daha fazla bilgi için keycloak web sitesini ziyaret edebilirsiniz.
Keycloak Docker kurulumu
Terminali açın ve aşağıdaki komutu çalıştırın.
docker run -p 8085:8080 -e KEYCLOAK_USER=admin -e KEYCLOAK_PASSWORD=admin quay.io/keycloak/keycloak:15.0.2
Keycloak Konfigürasyonu
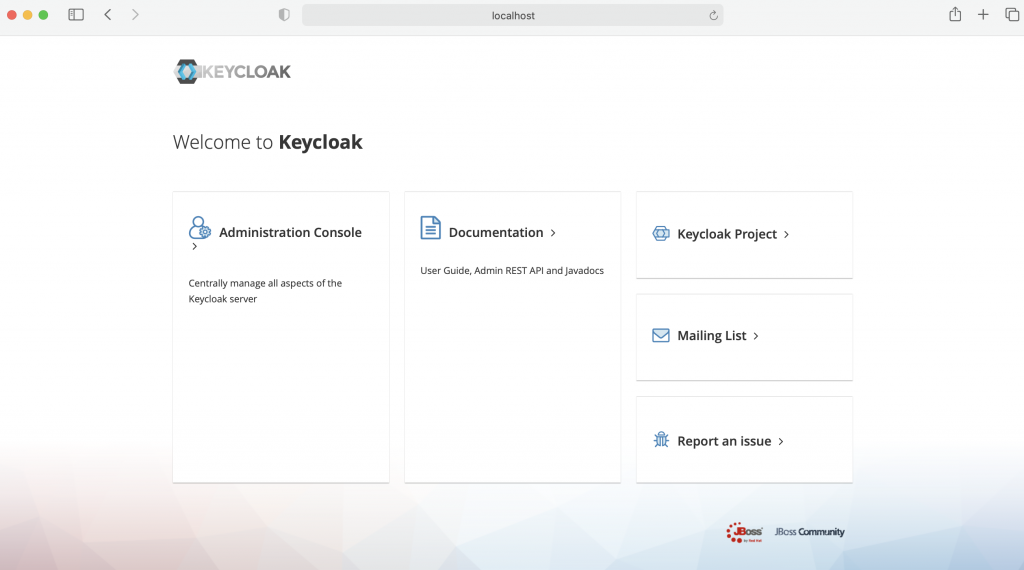
1- Keycloak admin paneline http://localhost:8085/ adresinden erişiniz. Administration console tıklayarak admin olarak giriş yapınız.
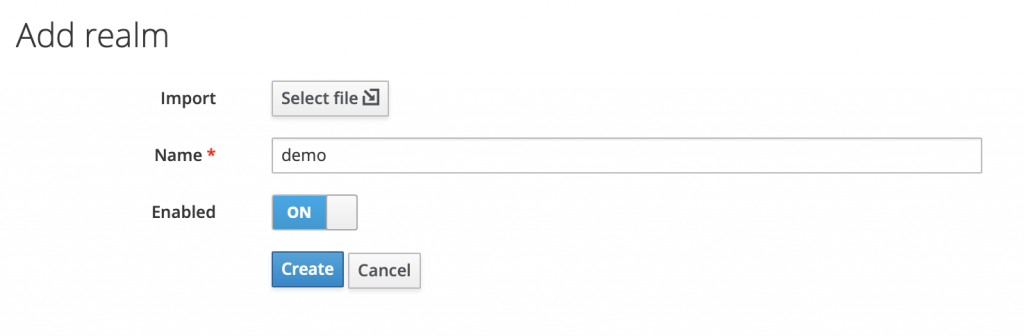
2- demo isminde yeni bir realm oluşturun.
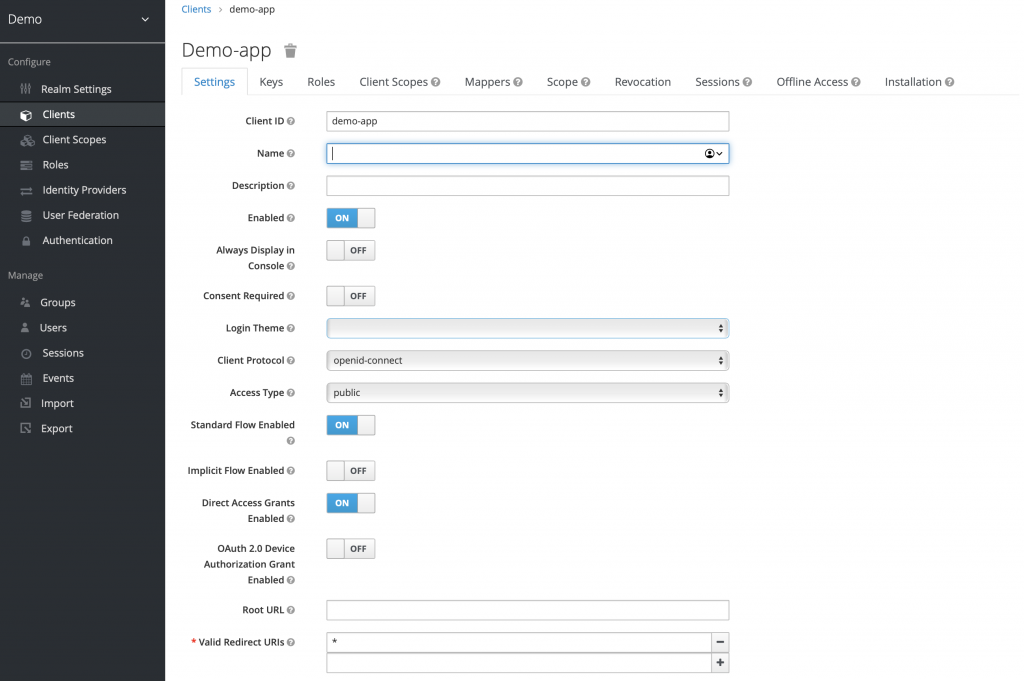
3- Şimdiyse demo-app isminde yeni bir client oluşturacağız. Access type olarak public, Valid Redirect URI olarakta * veriniz. Ve ayarları kaydediniz.

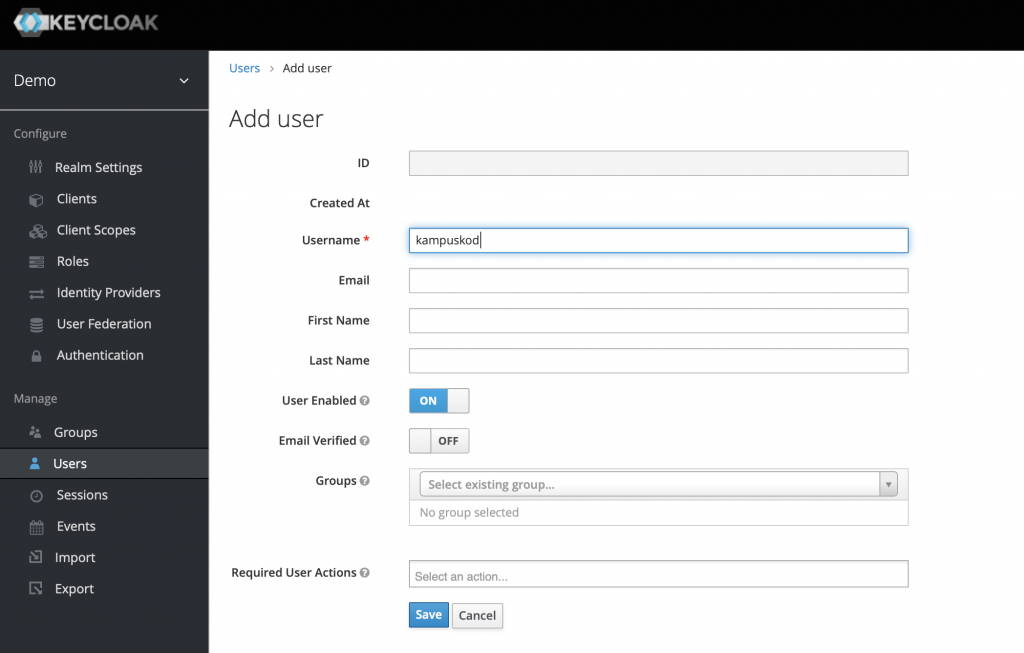
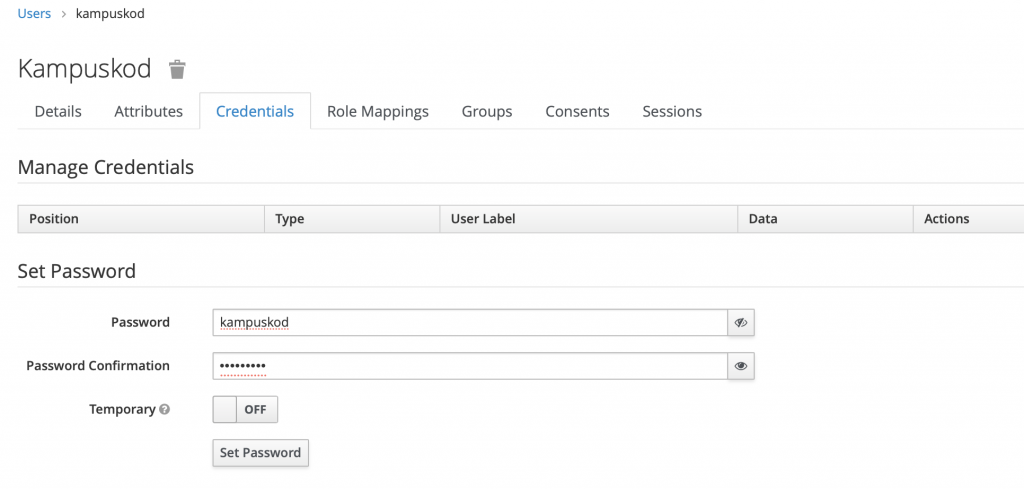
4- Kullanıcı oluşturalım.
Keycloak ayarlarımızı tamamladık. Şimdiyse Spring Boot projesi kısmına geçelim.
Spring Boot Projesi Oluşturalım
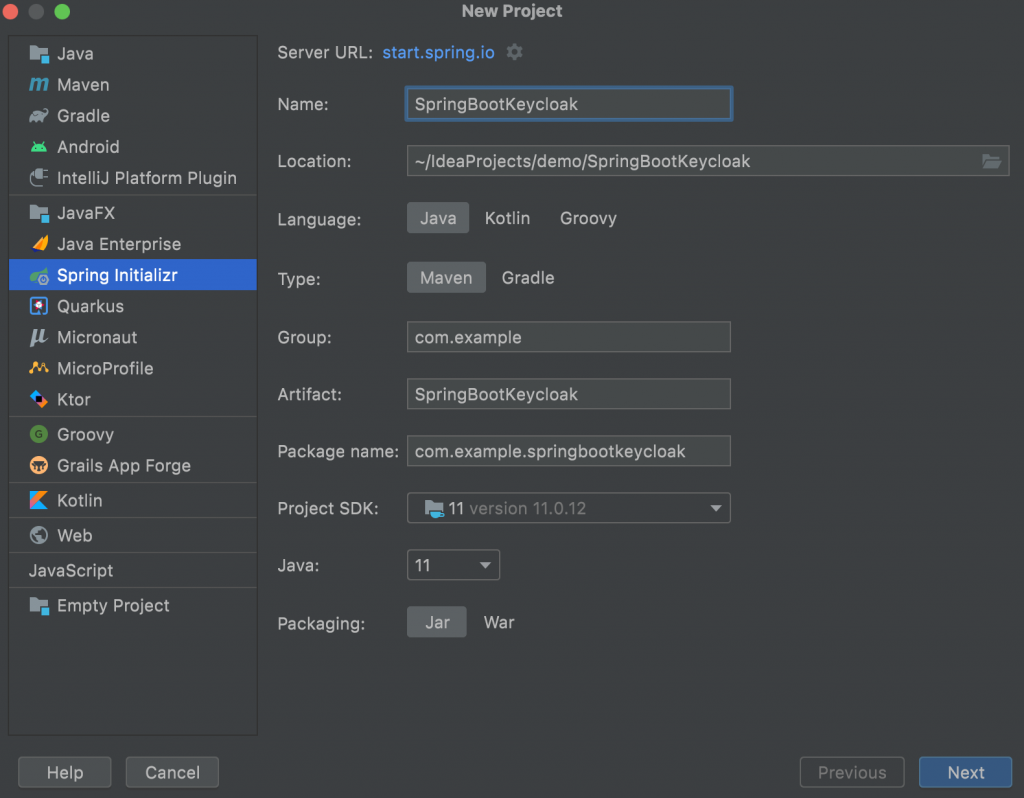
1- IntelliJ IDEA üzerinden New Project diyerek açılan pencereden Spring Initializr tabını seçelim ve projemizi SpringBootKeycloak şeklinde isimlendirelim.
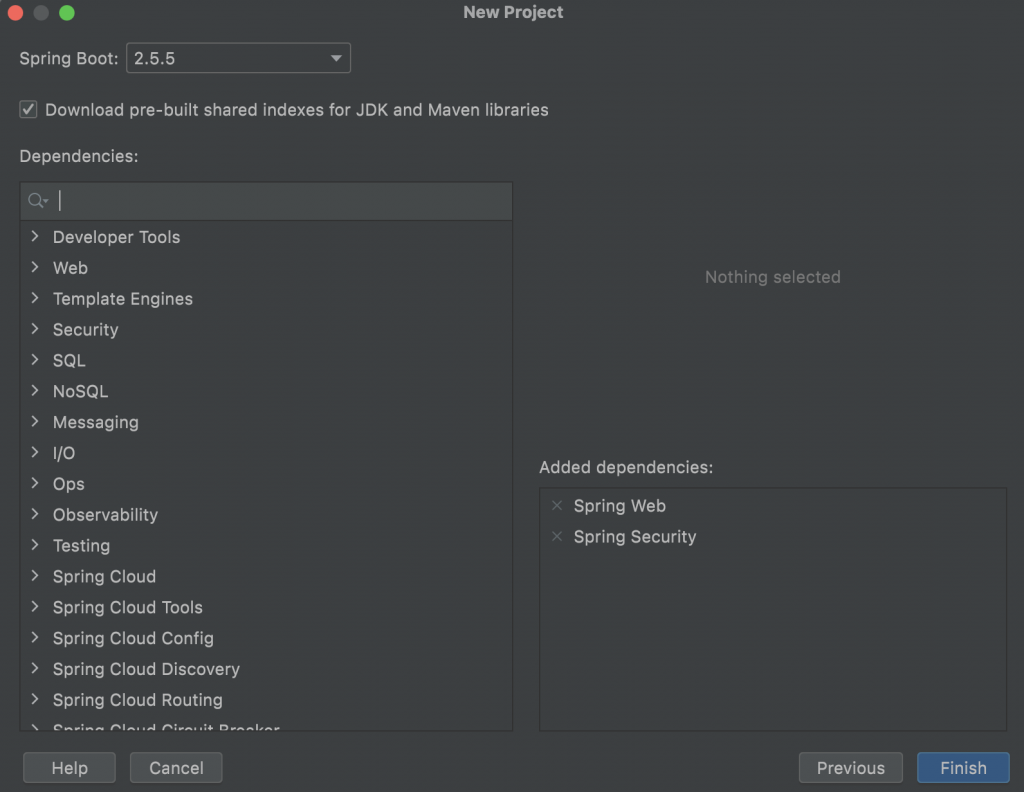
2- Spring Web ve Spring Security bağımlılıklarını projemize dahil edelim.
3- Pom.xml’e aşağıdaki kodları ekleyelim.
<dependencies>
    <dependency>
        <groupId>org.keycloak</groupId>
        <artifactId>keycloak-spring-boot-starter</artifactId>
        <version>15.0.2</version>
    </dependency>
</dependencies>

<dependencyManagement>
    <dependencies>
        <dependency>
            <groupId>org.keycloak.bom</groupId>
            <artifactId>keycloak-adapter-bom</artifactId>
            <version>15.0.2</version>
            <type>pom</type>
            <scope>import</scope>
        </dependency>
    </dependencies>
</dependencyManagement>
Pom.xml’in son hali aşağıdaki gibi olmalıdır:
<?xml version="1.0" encoding="UTF-8"?>
<project xmlns="http://maven.apache.org/POM/4.0.0" xmlns:xsi="http://www.w3.org/2001/XMLSchema-instance"
         xsi:schemaLocation="http://maven.apache.org/POM/4.0.0 https://maven.apache.org/xsd/maven-4.0.0.xsd">
    <modelVersion>4.0.0</modelVersion>
    <parent>
        <groupId>org.springframework.boot</groupId>
        <artifactId>spring-boot-starter-parent</artifactId>
        <version>2.5.5</version>
        <relativePath/> <!-- lookup parent from repository -->
    </parent>
    <groupId>com.example</groupId>
    <artifactId>SpringBootKeycloak</artifactId>
    <version>0.0.1-SNAPSHOT</version>
    <name>SpringBootKeycloak</name>
    <description>SpringBootKeycloak</description>
    <properties>
        <java.version>11</java.version>
    </properties>
    <dependencies>
        <dependency>
            <groupId>org.keycloak</groupId>
            <artifactId>keycloak-spring-boot-starter</artifactId>
            <version>15.0.2</version>
        </dependency>
        <dependency>
            <groupId>org.springframework.boot</groupId>
            <artifactId>spring-boot-starter-security</artifactId>
        </dependency>
        <dependency>
            <groupId>org.springframework.boot</groupId>
            <artifactId>spring-boot-starter-web</artifactId>
        </dependency>

        <dependency>
            <groupId>org.springframework.boot</groupId>
            <artifactId>spring-boot-starter-test</artifactId>
            <scope>test</scope>
        </dependency>
        <dependency>
            <groupId>org.springframework.security</groupId>
            <artifactId>spring-security-test</artifactId>
            <scope>test</scope>
        </dependency>
    </dependencies>

    <dependencyManagement>
        <dependencies>
            <dependency>
                <groupId>org.keycloak.bom</groupId>
                <artifactId>keycloak-adapter-bom</artifactId>
                <version>15.0.2</version>
                <type>pom</type>
                <scope>import</scope>
            </dependency>
        </dependencies>
    </dependencyManagement>

    <build>
        <plugins>
            <plugin>
                <groupId>org.springframework.boot</groupId>
                <artifactId>spring-boot-maven-plugin</artifactId>
            </plugin>
        </plugins>
    </build>

</project>
5- Son olarak application.properties dosyasına aşağıdaki parametreleri ekleyelim.
keycloak.auth-server-url=http://localhost:8085/auth
keycloak.realm=demo
keycloak.resource=demo-app
keycloak.public-client=true
keycloak.auth-server-url -> Keycloak url adresi
keycloak.realm -> Oluşturduğumuz Realm adı
keycloak.resource -> Oluşturduğumuz client ID
keycloak.public-client -> Oluşturduğumuz client Public olduğu için bunu true olarak belirledik. Bu kısım client’ın access type alanına göre değiştirilebilir. Biz demo uygulama yaptığımız için şimdilik public.
6- GloabalSecurityConfiguration adında bir sınıf oluşturalım ve KeycloakWebSecurityConfigurerAdapter sınıfını extend edelim.
package com.example.springbootkeycloak;

import org.keycloak.adapters.KeycloakConfigResolver;
import org.keycloak.adapters.springboot.KeycloakSpringBootConfigResolver;
import org.keycloak.adapters.springsecurity.authentication.KeycloakAuthenticationProvider;
import org.keycloak.adapters.springsecurity.config.KeycloakWebSecurityConfigurerAdapter;
import org.springframework.beans.factory.annotation.Autowired;
import org.springframework.context.annotation.Bean;
import org.springframework.security.config.annotation.authentication.builders.AuthenticationManagerBuilder;
import org.springframework.security.config.annotation.web.builders.HttpSecurity;
import org.springframework.security.config.annotation.web.configuration.EnableWebSecurity;
import org.springframework.security.core.authority.mapping.SimpleAuthorityMapper;
import org.springframework.security.core.session.SessionRegistryImpl;
import org.springframework.security.web.authentication.session.RegisterSessionAuthenticationStrategy;
import org.springframework.security.web.authentication.session.SessionAuthenticationStrategy;

@EnableWebSecurity
public class GloabalSecurityConfiguration extends KeycloakWebSecurityConfigurerAdapter {

    @Bean
    @Override
    protected SessionAuthenticationStrategy sessionAuthenticationStrategy() {
        return new RegisterSessionAuthenticationStrategy(new SessionRegistryImpl());
    }

    @Bean
    public KeycloakConfigResolver KeycloakConfigResolver() {
        return new KeycloakSpringBootConfigResolver();
    }

    @Override
    protected void configure(HttpSecurity http) throws Exception {
        super.configure(http);
        http.authorizeRequests()
                .antMatchers("/").permitAll()
                .anyRequest().authenticated();
    }

    @Autowired
    public void configureGlobal(AuthenticationManagerBuilder auth) throws Exception {
        KeycloakAuthenticationProvider keycloakAuthenticationProvider = keycloakAuthenticationProvider();
        keycloakAuthenticationProvider.setGrantedAuthoritiesMapper(new SimpleAuthorityMapper());
        auth.authenticationProvider(keycloakAuthenticationProvider);
    }
}
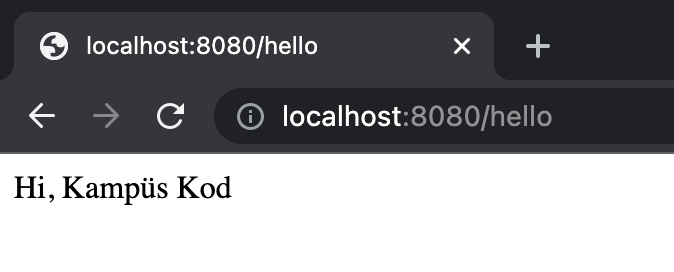
7- Son olarak REST endpointi tanımlayalım. hello adresine bir istek gittiğinde kullanıcı login sayfasına yönlenecek ve logout sayfasına gidildiğinde oluşturulan oturum silinecek ve tekrardan login sayfasına yönlenmiş olacak. getName() metodu ile kullanıcı giriş yaptıktan sonra ismini ekrana basmış olduk.
package com.example.springbootkeycloak;

import org.keycloak.KeycloakPrincipal;
import org.keycloak.KeycloakSecurityContext;
import org.keycloak.representations.AccessToken;
import org.springframework.http.HttpStatus;
import org.springframework.http.ResponseEntity;
import org.springframework.security.core.Authentication;
import org.springframework.web.bind.annotation.GetMapping;
import org.springframework.web.bind.annotation.RestController;

import javax.servlet.ServletException;
import javax.servlet.http.HttpServletRequest;
import javax.servlet.http.HttpServletResponse;


@RestController
public class HelloController {


    @GetMapping("/hello")
    public ResponseEntity<String> hello(Authentication authentication){

        if (authentication.getPrincipal() instanceof KeycloakPrincipal) {
            KeycloakPrincipal<KeycloakSecurityContext> kp = (KeycloakPrincipal<KeycloakSecurityContext>) authentication.getPrincipal();
            AccessToken token = kp.getKeycloakSecurityContext().getToken();
            final String body = "Hi,  " + token.getName();
            return ResponseEntity.ok(body);
        }
        return new ResponseEntity<>("Unauthorized", HttpStatus.UNAUTHORIZED);
    }

    @GetMapping(path = "/logout")
    public void logout(HttpServletRequest request, HttpServletResponse httpServletResponse) throws ServletException {
        request.logout();
        httpServletResponse.setHeader("Location", "/hello");
        httpServletResponse.setStatus(302);
    }
}
Tüm aşamaları tamamlamış olduk. Şimdiyse test edelim.
Uygulama Testi
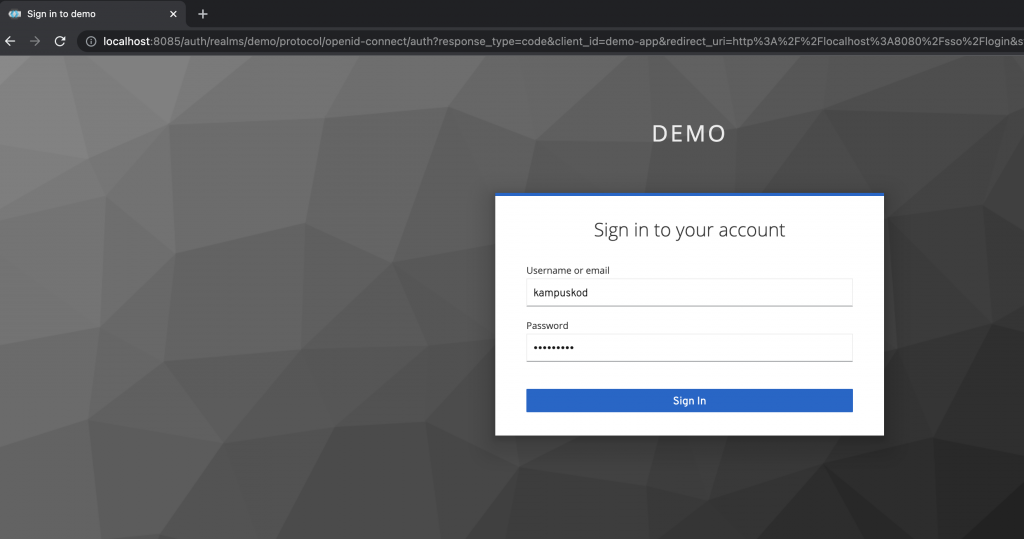
Spring projemizi run edelim ve http://localhost:8080/hello/ adresine istek atalım. Karşımıza login sayfası gelecek. Oluşturduğumuz kullanıcı ile login olalım. Giriş yaptıktan sonra http://localhost:8080/logout adresine giderek çıkış yapabilirsiniz.
Postman üzerinden de test edebilirsiniz:
http://localhost:8085/auth/realms/demo/protocol/openid-connect/token adresine istek atarken body kısmından x-www-form-urlencoded seçerek client_id, grant_type, username, password alanları gönderiniz.
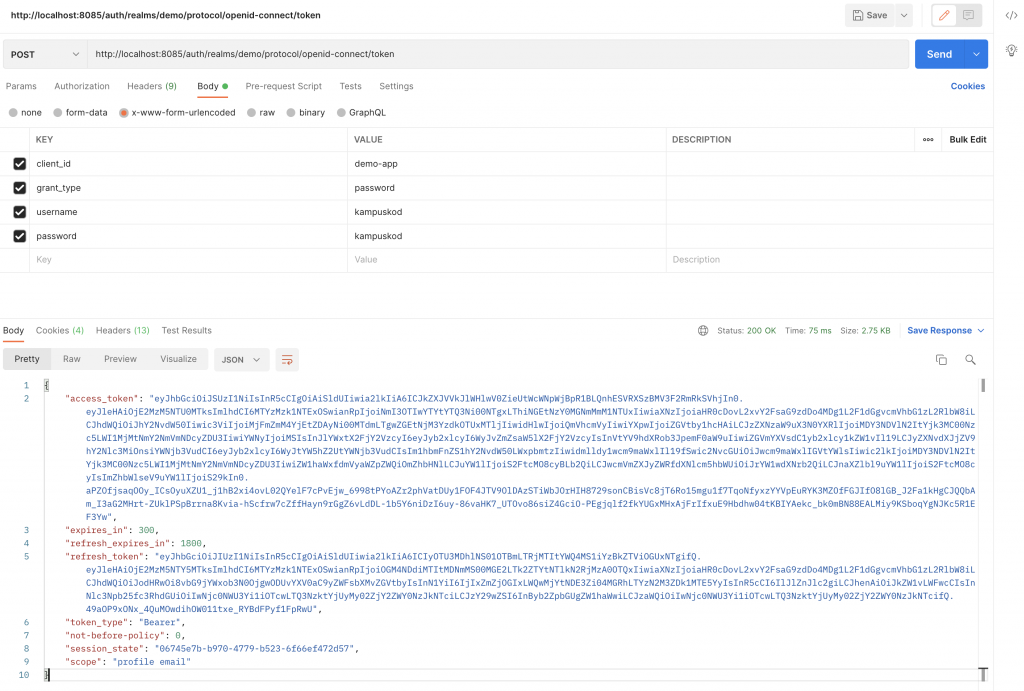
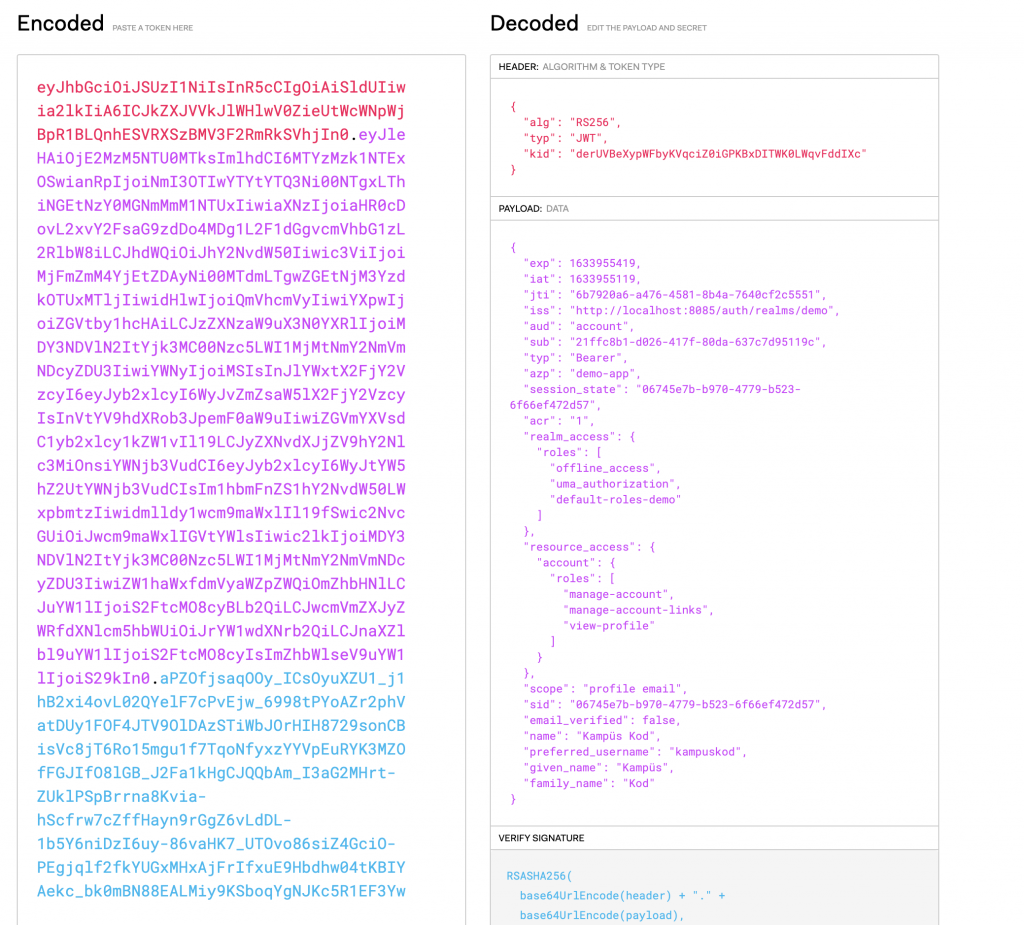
Üretilen access_token JWT token olarak üretilmiştir. https://jwt.io/ adresine bu access token’ı yapıştırarak token içerisindeki bilgilere erişebilirsiniz.
 – Java Dersleri")


 Oyunu")
Değerli bilgilerinizi paylaştığınız için teşekkür ederim